A logo is arguably the most powerful branding element. A creatively designed logo can stimulate awareness of your company and increase its brand recognition.
Logos can also create or solidify emotional connectedness with your organization, fostering consumer loyalty. They’re the most memorable branding element, which speaks to their long-term marketing effects.
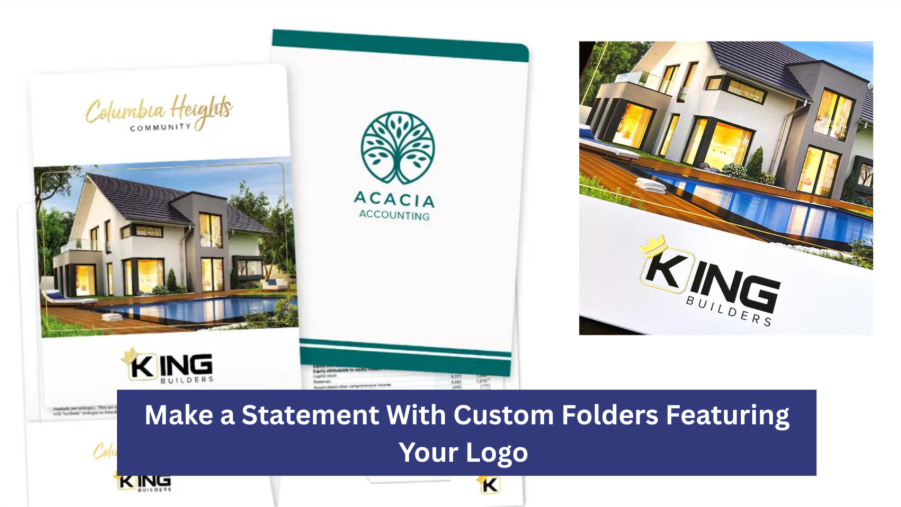
Now, there are multiple ways to leverage a logo in raising your brand’s awareness. One such method is to get the emblem printed on your presentation folders.
Read below for a guide on how you can customize your presentation folders with a logo and make a lasting brand statement.

Why Choose a Folder With Logo?
Presentation folders are primarily designed to help you stay organized during routine professional engagements. The folders house crucial documents, usually with compartments for easy sorting of similar documentation.
As presentation folders are often used while interacting with various business stakeholders, you can leverage the opportunity to create a lasting branding statement. That’s where folders with logo come in.
A logo adds a professional touch to your presentation folders by cluing people in to your company. The emblem serves as a silent elevator pitch, providing a low-cost yet impactful advertising opportunity.
Below are other reasons to choose a presentation logo with a folder;
1. Building Trust
Presentation folders with a logo can help build trust in your company.
Whether you’re attending a networking event or pursuing important leads, branded folders offer credible proof of your company’s professionalism.
2. Fostering Brand Recall
A well-designed logo can be incredibly memorable. It enables your organization to stay on top of your consumers’ minds, increasing brand recall.
Few people will remember they ever interacted with your business if they only received plain, unbranded presentation folders during the previous corporate seminar. Fortunately, the converse is true if the folders scream your company’s logo.
3. Standing From the Crowd
Every self-respecting business has a logo. These emblems stand as unique visual identifiers, enabling companies to stand out from their competitors.
Presentation folders with logos let your brand shine through. They can help generate interest in your brand while also reinforcing the company’s image with its current clients.

Step-by-Step Guide to Designing Your Presentation Folders With a Logo
1. Identify a Printing Company
Numerous companies provide presentation logo printing services. However, you deserve the most experienced provider you can get.
In the market, you will find many top-recommended presentation folder suppliers. Such a company enjoys decades of practical industry experience, with dozens of positive customer reviews to show for it.
You can avail their presentation folders in different sizes, colors, and finishes. And while these companies are based in New York, they ship throughout most North American destinations in as few as five business days.
2. Pick Your Preferred Folder Template
Presentation folders aren’t made equal. Therefore, choose something that addresses your unique needs.
Head to your identified supplier’s website and select a presentation folder constructed from premium-quality materials, usually heavy cardstock.
Next, decide on the folder’s ideal size. 9 x 12 inches is the standard size, although this can vary depending on the size of the documents the folder will hold.
Other key considerations include the folder’s thickness, color, and finish.
3. Design the Logo
Once you’ve selected your ideal presentation folder, download the template to your device. Now, import the download into a preferred design program and place a logo file onto it.
Be sure to align the emblem accordingly. The conventional wisdom is to set a logo on the upper right-hand side on the front of a presentation folder.
Incorporate other branding elements alongside the logo, including your company’s contact information and tagline. To effectively communicate your brand’s personality, use a unique and consistent font.
Fancy is okay. However, ensure the typeface is legible, memorable, and brand-relevant.

4. Submit Your Design for Printing
Export the edited template and save it on your device. Then, submit the file to your identified printing company.
Remember to spell out your preferred printing method. Popular options include CMYK printing, spot color printing, and foil stamping.
And oh, don’t forget the finish. Matte is excellent for creating a muted feel, while gloss enables the branded elements to shine through.
For a luxurious look, ask the printer to emboss or foil stamp the logo.
5. Showcase Your Folders
Printing a presentation folder takes several days. The actual turnaround will depend on the order volume and the design work’s complexity.
If everything turns out as you envisaged, you can proceed to create a lasting branding impact. Some ways to showcase your presentation folders include;
- Handing out branded folders containing your product catalog to clients
- Distributing marketing materials (flyers, brochures, etc.) in presentation folders
- Issuing welcome packages to new clients in presentation folders
- Presenting business plans or proposals in branded folders
- Showing up to job interviews or stakeholder meetings in branded folders
- Attending corporate seminars or trade shows in branded presentation folders

Wrap Up
Customizing your presentation folders with a logo is a discreet yet impactful way to stimulate awareness of your brand. It lets your company stand out at corporate events or during routine client engagements, giving it a significant edge in a rather competitive landscape.
To maximize the visual impact of your presentation folders, consider incorporating fonts and colors that are unique to your business.
Besides, choose a folder made from high-quality materials. This helps preserve the branding information, providing a lifelong marketing opportunity.
Remember to also go for presentation logos with multiple compartments. It lets you remain organized while discreetly advertising your brand.